• About
  • Privacy Policy, Disclaimer, and Disclosure

Garden Experiments

Gardening tips, experiments, product reviews, and stories from my backyard.

  • Plants
    • Vegetables
    • Flowers & Plants
  • Projects & Ideas
  • Wildlife
  • Reviews
  • Recipes
  • Gardens & Butterfly Houses
    • Directory of Butterfly Houses by State
    • Garden Tours
You are here: Home / Projects and Ideas / How to Build a Trellis Wall

Updated on October 29, 2014

How to Build a Trellis Wall

Share
Pin
Tweet
Email
Finished trellis wall with vines planted

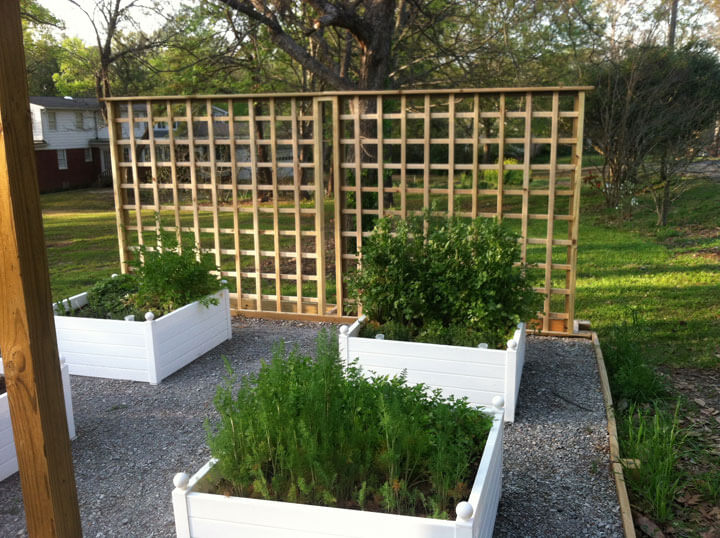
A lattice wall can provide additional privacy in your yard as well as create an attractive feature for you to grow flowering vines on. For under $250 (plus some manpower) we built these two 6 foot tall by 8 foot wide lattice wall on the back side of the raised herb garden.

I really like the look of square lattice panels, which are hard to find pre-made. Most lattice you find in hardware stores is diagonal. So we set to work making some measurements and creating our own hand-made lattice wall. It took less than 2 days to complete the project (even with several runs to the hardware store for those items we forgot!)

Materials List

Raised herb bed before the trellis wall was added

Lumber

  • thirty-six treated 1x2x8’s
  • six treated 2x2x8’s
  • four treated 2x4x8’s
  • four 1×2’s
  • six 4×4 posts

Hardware

  • 7 1/2×3” bolts
  • outdoor decking screws
  • nails for lattice panels
4x4 posts attached to each other and the raised herb bed
4×4 posts attached to each other and the raised herb bed for stability

Installing the posts

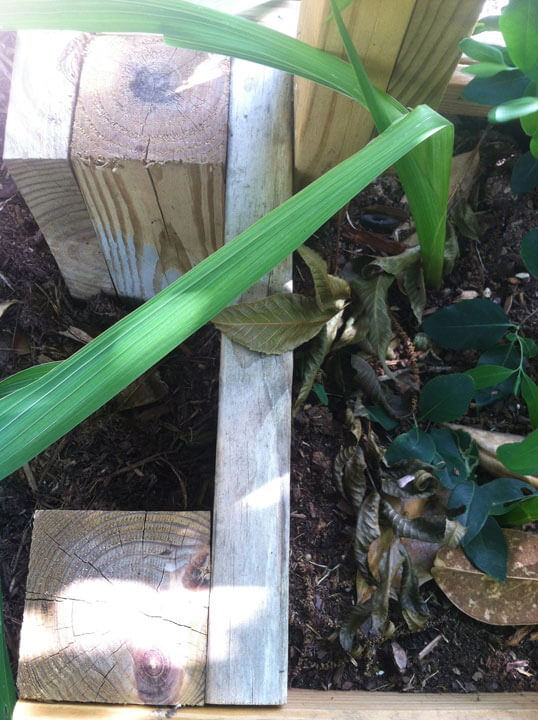
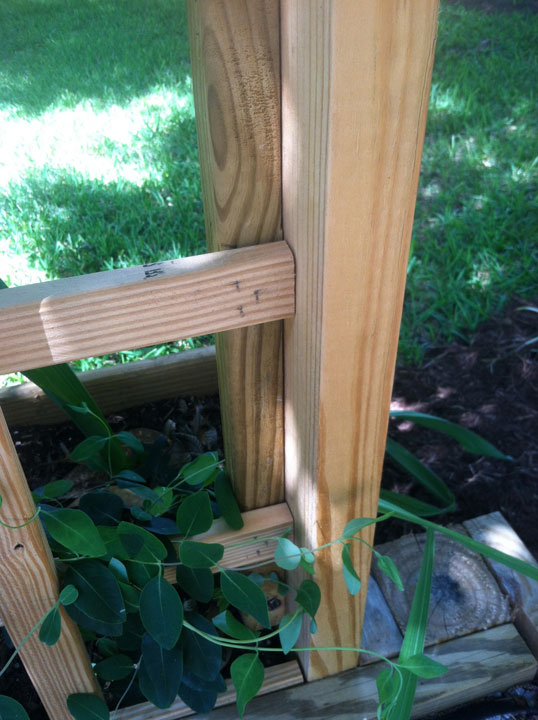
The first step in the project was to install the 4×4 posts into the ground to provide support for the trellis wall and the raised planter. The holes were dug with a post-hole digger to about a foot deep, and the posts were cut off to the appropriate height. No concrete was used to anchor the posts because the stability would come from the existing raised herb bed wall. The posts were then secured with connectors to the original frame

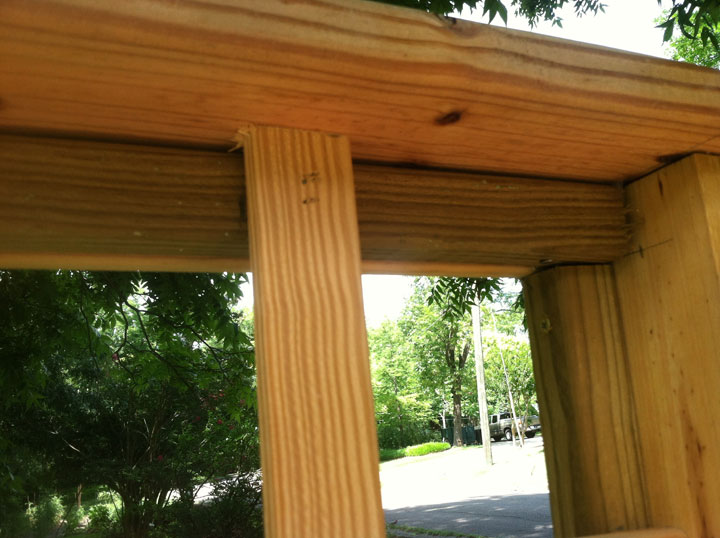
Frame for the trellis

The frame for the trellis was created from 2x4x8’s  (for the uprights) and 1×6 (for the top) which were attached to the posts using lag bolts. This provides a little more stability.

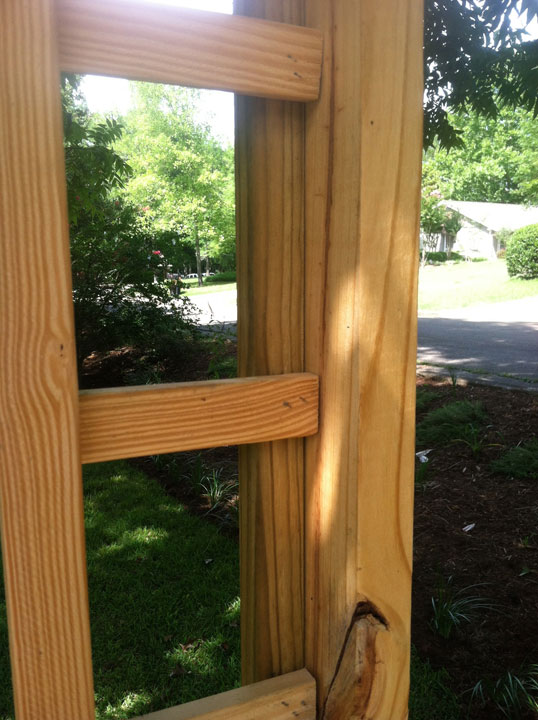
Then 2×2’s were attached to the inside of this frame so that we could attach the trellis pieces to this. Since the trellis pieces will be stapled with one layer on top of the other, the top 2×2 was inset enough to accommodate for the top layer.

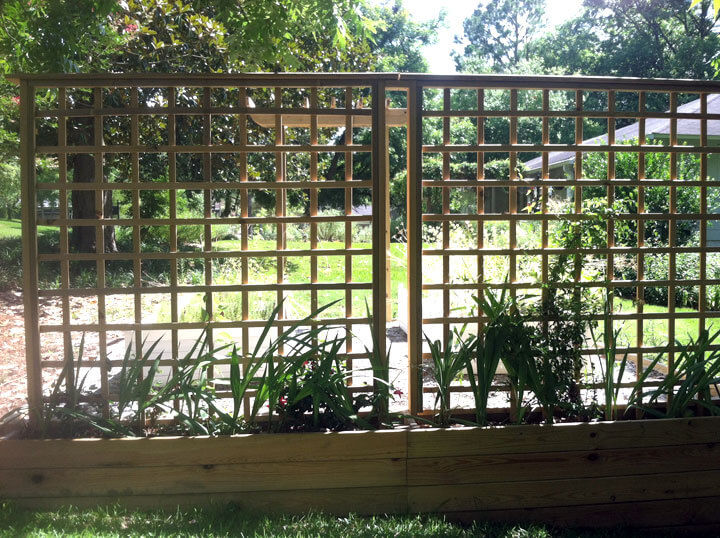
Eighteen (36 total) 1×2’s were stapled in to each frame, spaced about 6 inches apart. We recommend using a nail gun if possible to speed the process up.
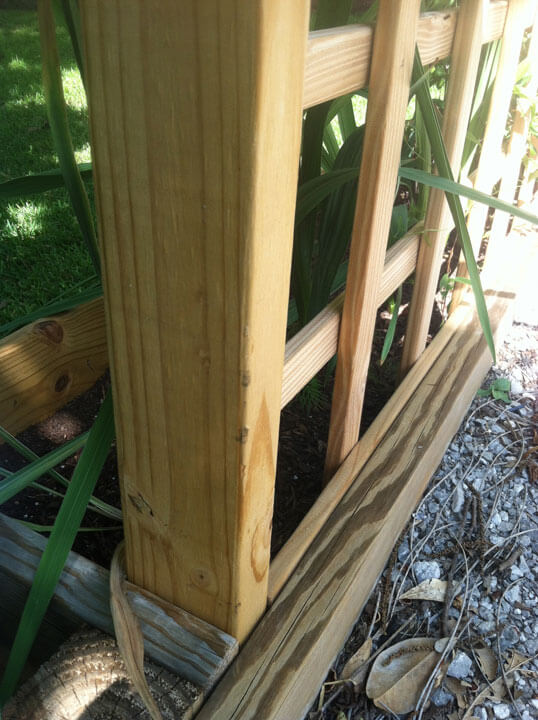
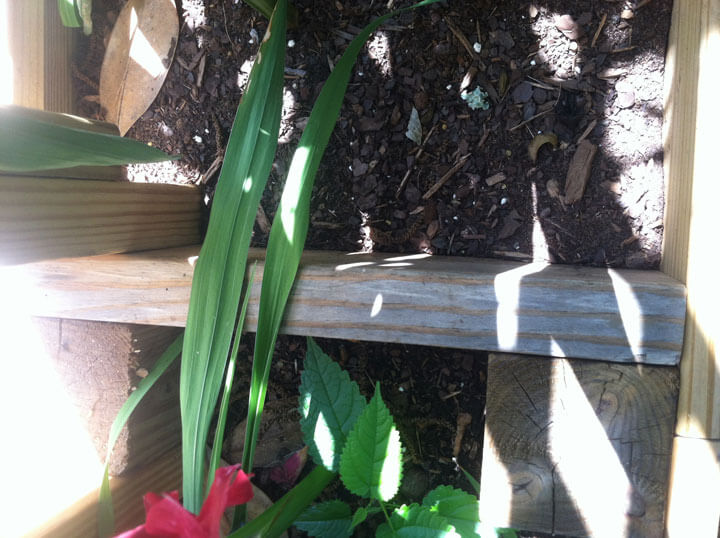
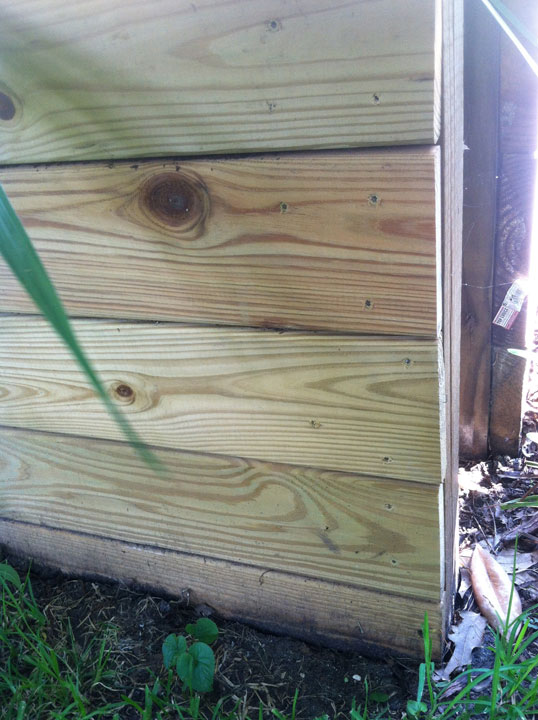
Top of frame
Top of frame
Top view of frame and trellis attachment
Top of frame
Top of frame
Side of frame
Side of frame
Bottom right of frame
Bottom left of frame
Base of frame connected to herb bed
Side of planter box
Side of planter box

Planter box

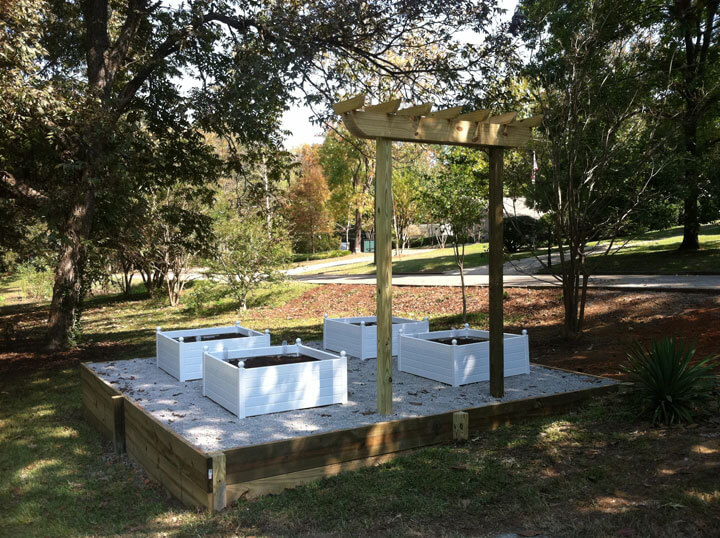
The walls of the planter box were made using 1×5’s. We had to adjust ours for the change in height (the box goes up a hill). You will need to determine the height and length of your planter box to determine how many boards you will need. Use outdoor decking screws to attach the planter box boards to the posts.

Planting the box and trellis wall

As soon as the trellis wall was finished, we planted yellow jasmine, cypress vine, hardy kiwi, native honeysuckle, and mandevilla. The vines are just now starting to grow. Next year we hope to see lots of blooms. I also put lots of gladiolus bulbs in the planter box. Since they are so close to a trellis wall, I can tie them up when they start to lean.

Finished trellis wall
Finished trellis wall with vines planted


Share
Pin
Tweet
Email

Article by Garden Experiments / Projects and Ideas / how-to, projects and ideas, raised beds

Recent Posts

  • Celebrating Pollinators – Bees, Butterflies, Birds and More
  • You Won’t Believe Your Eyes When You See This Giant Caterpillar
  • What is that Smell? Stinkhorn Mushrooms in the Garden

About Me

Welcome! My name is Kathy and I live in Mississippi Zone 7B. Gardening has always relaxed and rooted me (literally!). It's my happy place. With over 25 years of gardening, I am far from an expert, but I learn from all my experiments. This blog talks about the plants, backyard critters, and more that have made my garden special. Read More

Gardener's Supply Company

Popular Posts

Tags

backyard habitat bees berries bird feeders birds bulbs butterflies compost container garden deer resistant DIY projects fall flowers full sun garden pest gardens herbs how-to hummingbirds indoor plants insects moist soil mulch native plants part shade plant identification projects and ideas propagation propagation. wildflowers raised beds recipes reviews rooting shade shrubs spring spring flowers succulents Summer trees vegetables vines wildflowers wildlife winter

Categories

Plow & Hearth

© Copyright 2021 Garden Experiments · All Rights Reserved ·